Roofing Material Pros & Cons

The roof forms a major and very important part of your house and can enhance the look of your house. Therefore, it is important to select roofing material with care. But this is not an easy task, given the various types and styles that are available today. The following article is a comprehensive review of the best roofing materials that are available today. Use this information to discuss options with your roofing company.

Asphalt Shingle Roof roofing material
Asphalt Shingle Roof

Asphalt Shingle Roofing

This is the most popular type of roofing material as asphalt shingles are highly affordable. They come in two categories, namely, fiberglass shingles and organic asphalt shingles. While the first type of shingles is light in weight, organic asphalt shingles are heavier.

Pros

  • An excellent option for fire protection
  • Affordable

Cons

  • Less life-span
  • Cumbersome to replace

Wood Shingles

Wood, most certainly, adds the element of classic beauty to your façade and roof. Unlike wood shakes, wood shingles are machine cut and therefore, they have a smoother look and a uniform finish.

Pros

  • Better insulation in comparison to asphalt.
  • Environment-friendly as wood can be recycled.

Cons

  • Are more prone to fire than asphalt.
  • It can be expensive to repair or replace.

Metal Roofing

While metal roofing has always been around due to its durability, it is now seen as a roofing metal that is eco-friendly as well. It can come in a variety of looks and colors. Most common metal roofing sheets are manufactured using aluminum, steel, and zinc.

Pros

  • Stylish, elegant, and long-lasting.
  • Light in weight and durable.

Cons

  • Metal roofing is one of the most expensive roofing categories.
  • It can be noisier during heavy rains.
clay roof tile roof roofing material
Roof Tiles

Roof Tiles

The age-old tradition of building houses with clay tiles is preferred even today. However, today these clay tiles come in concrete and fiber cement versions making them stronger and more durable.

Pros

  • These tiles are fire-resistant
  • Look graceful and enhance the aesthetics of your home if you have the right style home.

Cons

  • Even the newer versions are heavier than most other types of roofing options
  • These can be costlier than metal or wood tiles.

Natural and Vinyl Slate Tiles

Natural slate tiles are very durable, but they are heavy and will require additional structural support. They do come in a synthetic vinyl version that is lighter as well as more affordable.

Pros

  • Easier to maintain.
  • Eco-friendly as it can be recycled.

Cons

  • Extremely heavy on the building.
  • Needs proper installation else moisture can seep in.

As you can see from the list above, there is no shortage of options. So, before selecting a roofing material, be clear on what you require from it. It is good to be aware of the life-span that you are looking for and whether the material will be suitable for the climate or not. Also, depending upon your budget and specific requirements, you can find a roofing material that is the best match for your building needs. Remember that your roof is exposed to all elements directly, so choose wisely.

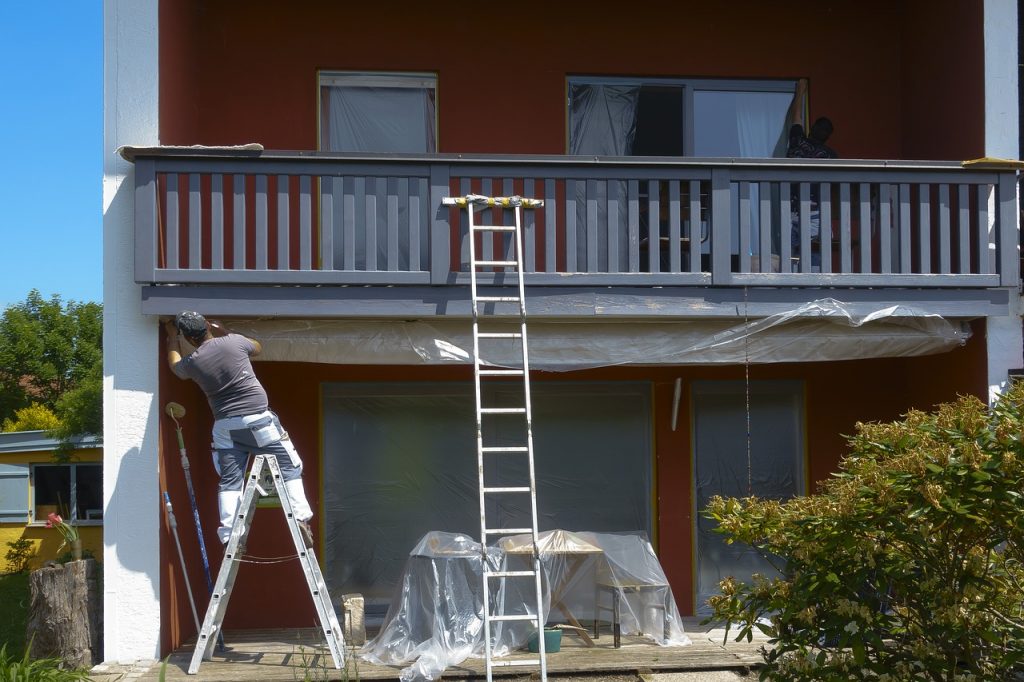
How to do Exterior Painting Properly

A good-looking house is your biggest investment. So, it’s not bad to spend for a fresh coat of paint for your house exterior every few years to maintain its look. However, it is not just looks. The exterior paint and caulking seals the exterior and prevents rot and water seepage. This prevents damage to the house and potentially expensive repairs.

 However, hiring a team to do a paint job may be expensive, so to save some bucks here are some tips on how to do it yourself. Just reading this will make you more knowledgeable so you can negotiate with painters better or know better how to check the job they did.

Keep in Mind Mother Nature

Understanding local weather patterns in your area is important when painting the exterior of the house. Consider painting during the dry season of the year, as paint needs to time to dry.

Inspect and Repair

Before grabbing that paintbrush and caulk gun, grab a notepad and inspect the outside of the house. List down what needs doing, and use those notes to create a plan on how to go about your painting project.

Before applying that fresh coat of paint, make sure to look for trouble spots and make necessary repairs. The first thing to do is to inspect if there are any peeling or flaking paint in the siding or trim. You can also check if there are rusted iron railings, compromised coating on painted metals, or powdery white residues on aluminum trims or sidings. These sections will be taken care of during your prep work.

If there are areas where mildew or mold has taken hold, get rid of them by scrubbing the area with a bleach solution. After scrubbing, let it sit for 10 minutes before washing away the suds and residue.

Also check for gaps in window sills and doors. Repair these gaps by applying a bead of caulk to seal them. This is important on the top and sides. In some cases, you want the bottom uncaulked so any moisture that gets in can find its way out at the bottom. But this depends on the position of the joint at the bottom. You might want to read a bit on caulking.

Last in your inspection list is checking for rotting wood on the exterior paneling of the house. Make sure to replace them before painting.

Prep work

Now that you’ve finished inspecting and made repairs, its time select your paint and prep.

Picking your primer. If you’re fresh coat of paint is of the same color as the old one, you don’t need to prime the surface. However, if you want a different color of paint, pick a primer with a vinyl sealer as the sealer will help both the primer and paint stick to the surface.

Picking your paint. You need a paint that bonds easily to rough surfaces and 100 percent acrylic latex does just that.

Considering your paint color. There might be restrictions on colors in your area so make sure you’re aware of these restrictions, if there are. When choosing a paint color for your exterior, keep in mind that vibrant colors fade faster than muted colors. Also choose a color that will complement the roofing and exterior stonework. A popular choice of color is the eggshell which goes well with any stonework or roof. You can take paint swatches and samples to see how the paint will look.

Gathering the painting tools. You can’t paint without any tools so gathering them is a timesaver. Some basic tools you need are paintbrushes, paint rollers or sprayers, painter’s tape, paint scraper, sandpaper, plastic sheeting, and drop cloths.

Scraping away flaking paint. A good surface ensures a good paint job so making the surface as smooth as possible is a must. Remove flaking or damaged paint using the paint scraper.

Smoothing out corroded metal. Using a sandpaper, smooth out corrosion on the metal surfaces. If the rust cannot be removed by sandpaper, use a rust remover.

Washing the exterior. You can make use of a power washer to wash the exterior of the house. This is done to remove any dust or flecks of old paint. If you don’t have a power washer, a good old rag and water and a bit of elbow grease would work. Or rent one from Home Depot or Lowes. Or buy one, they aren’t expensive and very useful.

Covering whatever is not to be painted. Sometimes, you just accidentally paint over those more delicate areas. To avoid this, line the trim areas like doors and window sills with painter’s tape. Using the plastic sheets, cover fixtures like outdoor lights to keep paint from splattering over them.

Let’s start painting!

You have inspected, repaired, and prepped. It’s time to paint! Most exterior paint jobs need two coats of paint. Although it may cost more, it can make your paint job last for a few years.

As mentioned earlier, you don’t need to prime the surface if you are using the same color of paint. But if you do, then paint a thin layer of primer on the exterior. Always start from top to bottom. Then, allow the primer to dry before adding another layer of paint.

When the primer has dried, you can now add the first layer. Depending on the size of your painting area, you can opt to use a paintbrush, a roller, or a sprayer. Again, paint from top to bottom. Keep the coat even by overlapping each stroke by 6 to 8 inches.

Let the first layer to dry, then add a second coat of paint. This will help make the exterior be more weather-resistant and not fade quickly. Paint from top to bottom to get a smooth coat and lessen the drips.

Now that you have painted all the big sections, it’s time for the finishing touches. Remove the painter’s tape and paint the doors, molding, fascia, and other details on the exterior. All you really need here is a good paintbrush and a steady hand. Take your time doing this part.

Construction, Roofing, Siding, Painting Information

We hope you enjoy our insights into the world of construction. It might give you ideas on projects for your home or give you some tips on how to do some small projects yourself. For roofing and siding we might suggest you leave that to professionals. For painting and some other projects, you might be able to do those yourself. Some people love to tinker and do projects and are quite talented and others have no interest and want nothing to do with it. That is what is great. Everyone is different.